

EPOXY RESIN BUFFING
Polishing resin is a relatively simple process that just takes a little patience and effort. This instructable will address how to polish resin to a high gloss. The same methods I will address in this how to, apply to all cast resin polishing, and can be used to polish virtually any type of resin be it polyester or epoxy based.
The method first starts with some good old fashioned detail sanding working up through the grits, from very rough, to a very fine wet sanding. Then we move into two different grits of polishing compounds, and finally finish everything off at the buffing wheel using two very fine polishing abrasives, and finally, a carnuba wax polish to buff everything to a bright shine.
When done correctly, well polished resin casts and parts look absolutely amazing, and are works of art, ready for display, jewelry and enjoyment in and of themselves.
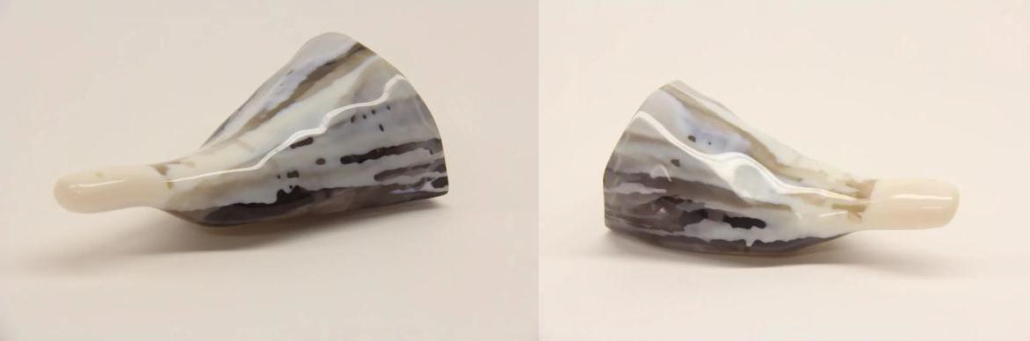
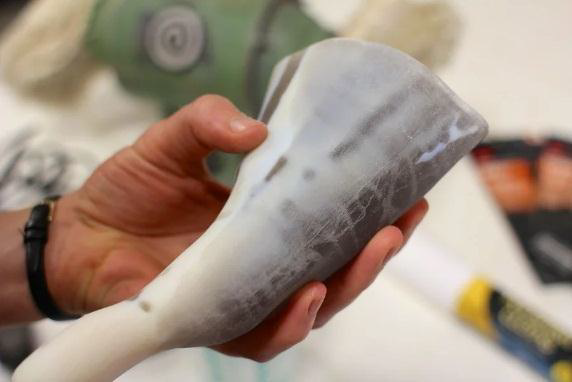
Step 1: Cast Part
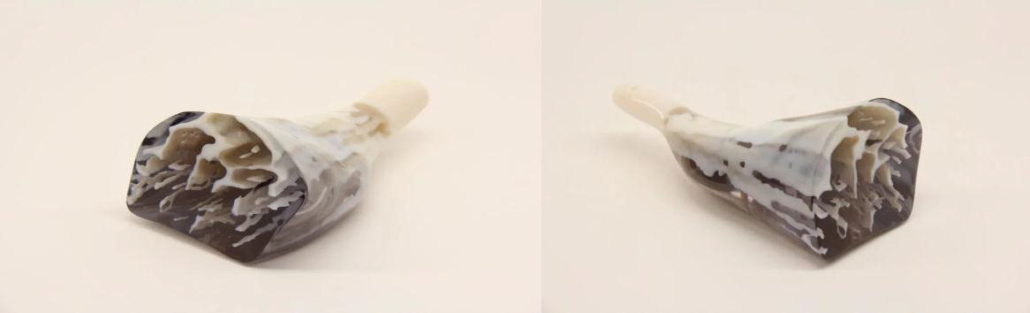
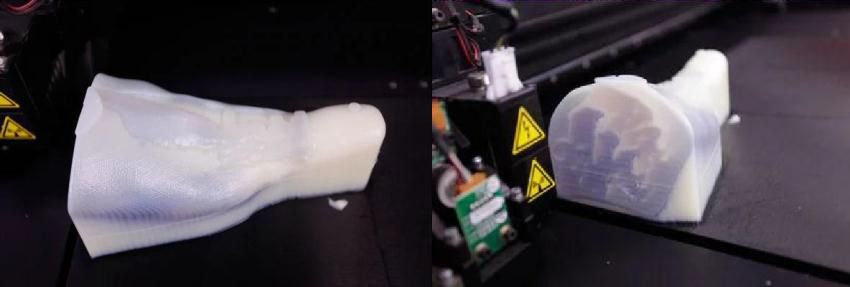
The support material is a waste product of the print and must first be cleaned off before polishing can begin. Use a pressure washer, surform tools, dental tools.
If you are polishing a cast resin part, clean the outside of the resin with soap and water to remove any mold release that may be on the part.
Step 2: Tools and Materials
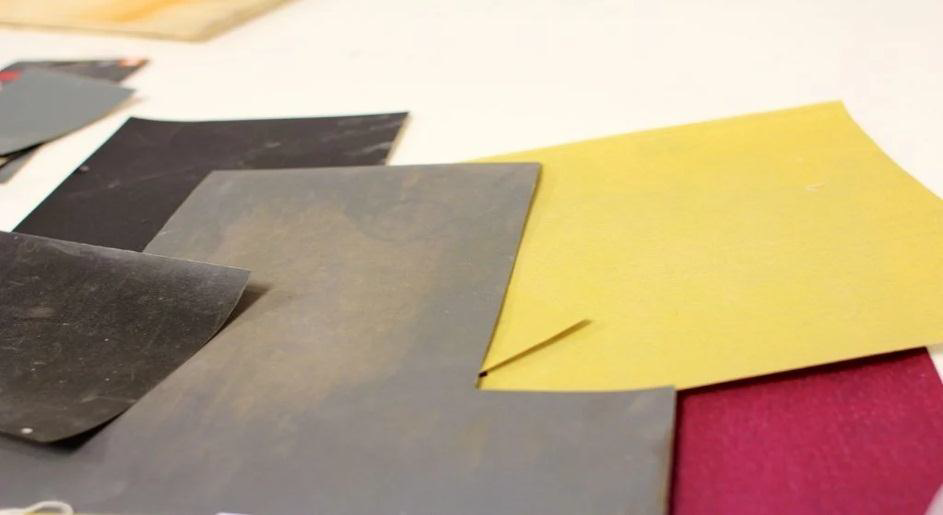
Gather the tools and materials below to polish your resin part: sand paper 120, 180, 220, 400, 600, 800, 1000, 1500, 2000 grit. sanding block water.
scratch remover compound polishing compound
Lint free, scratch free polishing cloth mothers polishing ball Buffing wheel buffing compounds wax product
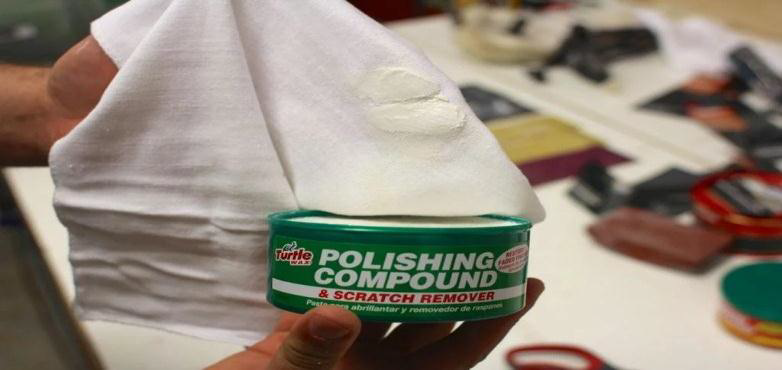
While there are many different buffing compounds and waxes available, I went to a regular car parts supplier box store and purchased low cost but totally effective rubbing compound made by Turtle Wax for car scratches, a Mothers Polishing Ball with a drill attachment and some Mothers Carnuba Car Wax
Step 3: Sand Paper Grits – From 120 to 2000
Start sanding the resin with 120 grit sandpaper. Make sure to sand all the surfaces of the resin part before going up to the next grit paper. It’s much easier to notice a deep scratch once the resin is sanded smooth and begins to become polished. The bummer with that however is that you’ve then got to backtrack all the way back to the beging and spot sand the blemish out. A better method is to sand the entire part comprehensively with the rough paper before moving up a grade.
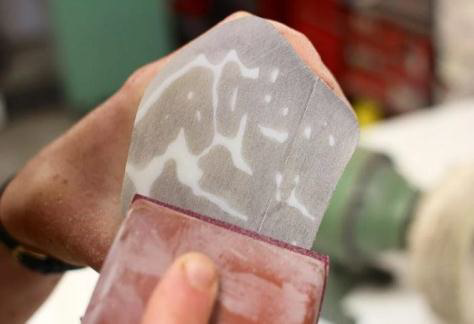
Step 4: Hand Sanding
When we began polishing this piece of resin we were exclusively hand sanding. we took turns and rested before moving up to the next grit paper.
We used the sanding block only for the one flat side on this model, the rest of the time we just used our hands as a backer.
We experimented a bit using flexible foam sanding pads, and sponge-like backers on the sandpaper, but all in all, our hands proved to be a pretty effective and flexible support for the paper to get inside all the detailed contour sand crevices.
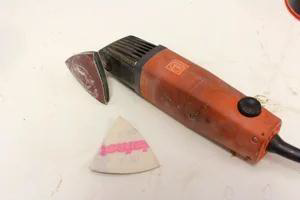
Step 5: Power Sanding
Larger sanders that one would want to use if you were working with a larger piece of resin.
It’s easy to make custom sanding pads of the finer grit sanding papers for the detail sander. Simply take a spent Fein brand pad, spray it down with 3M adhesive, and slap a piece of fine sandpaper on it that’s been cut down to the same size. Presto – cheap and reusable fine grit sanding pad.
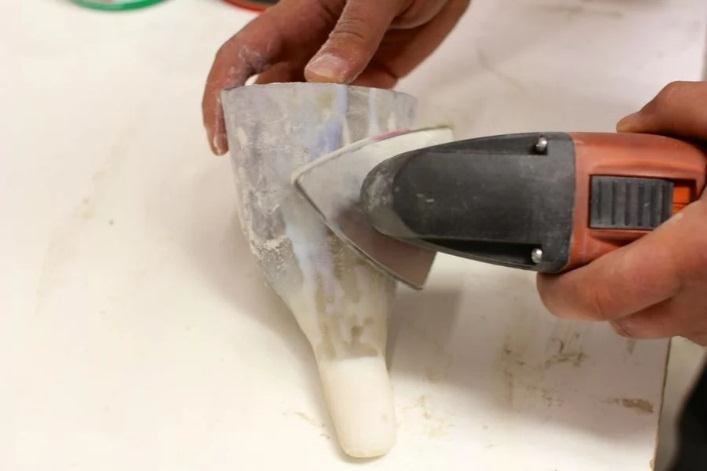
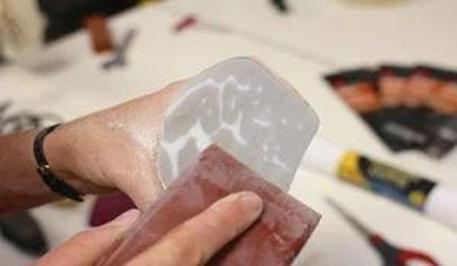
Step 6: Wet Sand by Hand
Once you get to 400 grit or so, depending on the type of sandpaper that you are using, it’s time to start wet sanding.
This process we did by hand for more control, and so we wouldn’t get electrocuted. Start sanding at 400 and work your way up to 600, 800, 1000, 1500 and finally, 2000.
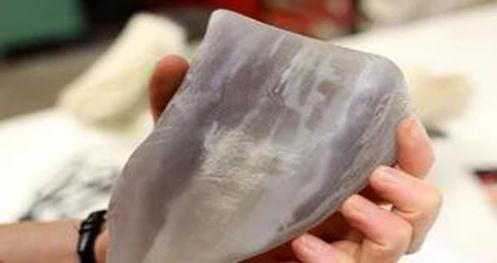
Step 7: Check for Scratches
We found it easiest to check for scratches by completely wiping down the resin with a clean towel and then wetting it down with water. If you rub the water in a bit with your fingers it helps to bring any potential scratches, pot marks and inconsistencies out for inspection.
If the resin passes the scratch test, keep on sanding all the way up to 2000. By 2000 it should start to look pretty clear, but not polished. That comes in the next step.
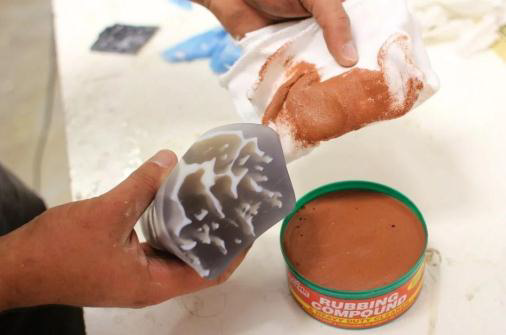
Step 8: Rubbing Compound
I used two different polishing compounds to start the polishing process – first was Turtle Wax brand Rubbing Compound.
Follow the instructions – apply a small amount to a clean polishing cloth and rub it vigorously onto the surface of the resin. Let it sit for a second and then buff it off with another part of the cloth.
This polishing compound is a finer grit than the sandpaper, but not quite as fine as the buffing compounds that are used on the mechanical buffing wheel.
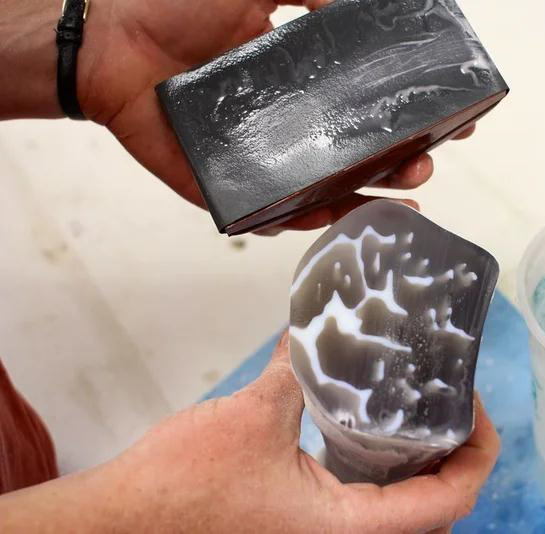
Step 9: Polishing Compound
Follow the same procedure as described in the previous step for the finer of the two polishing compounds – Turtle Wax brand Polishing Compound.
This creamy white polishing compound really starts to bring out the initial polished surface in the resin…and in the next steps it just gets better and better.
Step 10: Mechanical Polishing With Mothers Ball
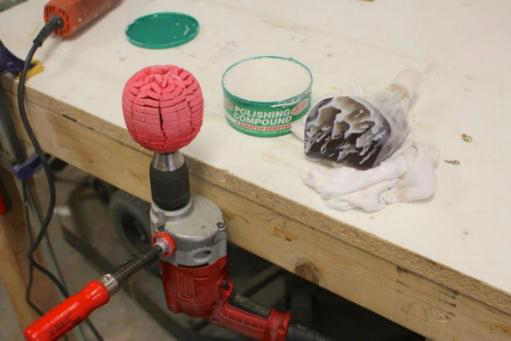
While we preformed the previous two steps by hand with a polishing cloth, I thought it’d be useful to try a mechanical solution to this process as well. I picked up a Mothers Ball polishing tool at the car parts store and loaded into the chuck of my corded drill.
Lock the drill trigger on, load the ball with polishing compound and polish all the surfaces of the resin piece. Hold on to the resin piece as the drill spins. It doesn’t have much friction, but if it caught en edge on the resin piece, it’s possible it might try to come away from your hands.
Where an apron as this step tends to flick polishing compound around and about.Since this photo was taken I’ve begun polishing these models on the drill press, as it spins the ball with a bit more stability and speed control
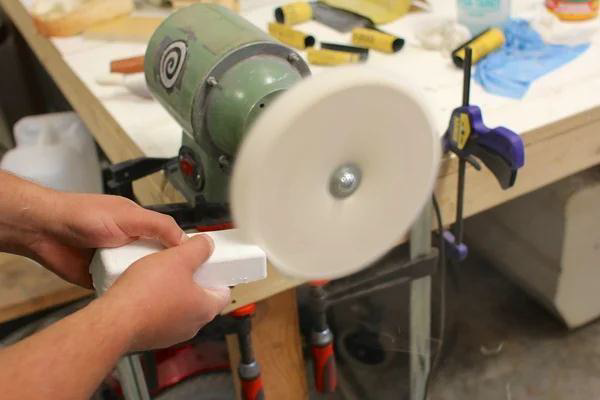
Step 11: Buffing Wheel – Tripoli
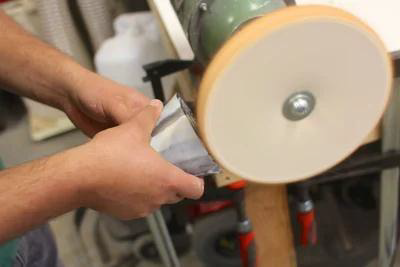
After polishing comes buffing on the motorized buffing wheel. Any motor that rotates at around 1500 – 2000 rpm will suffice. Mount the first all-linen buffing wheel in the kit to the arbor and load the wheel with tripoli compound. Again, I’m using a buffing kit from Beall Tool, but any buffing compound system that you’d like to work with will work just as well.Loading the wheel with compound means holding the bar to the wheel for a few seconds. Once some red material is deposited on the wheel, it’s good to go. If you are buffing a large area, you may need to reapply compound to the wheel.
Hold the resin piece tightly in your hands and engage it into the wheel.Always have the wheel spin down and away from you, and always buff on the bottom of the wheel in case something catches an edge – otherwise it will get launched right at you. If you buff down and away, it will at least get launched away from the operator.Always hold on to the part you are buffing with two hands, and try not engage any hard edge against the wheel. Better to buff the surface of the resin part parallel to the face of the buffing wheel, and never perpendicular to it as it has a tendency to “grab” the part.Keep the resin moving across the buffing wheel, never staying in the same place too long. The process builds up significant heat and we want to keep things cool by keeping everything on the move.
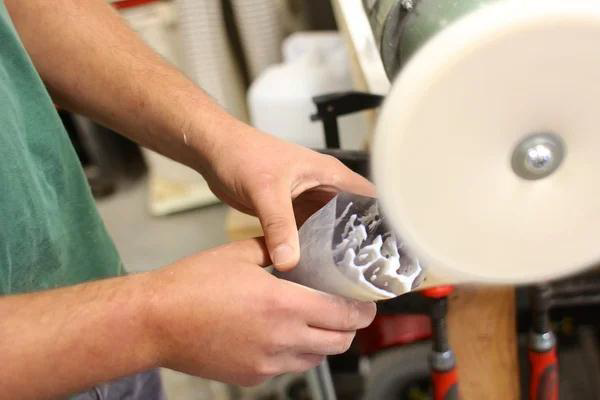
Step 12: Buffing Wheel – White Diamond
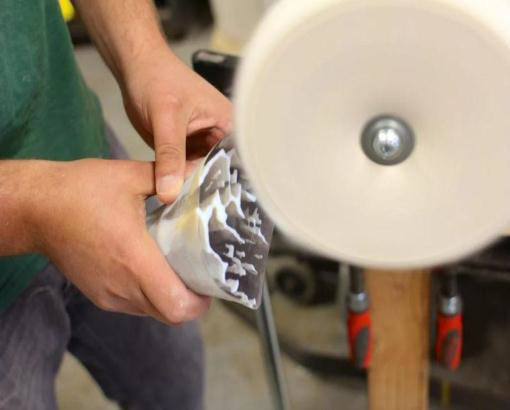
The Beall Kit’s next step is a diamond buffing compound. It gets used on a softer wheel than the first, so swap wheels, load up the new linen/cotton blend wheel with white diamond compound, and use the same buffing technique described
in the previous step.
It’s possible to buff the entire model – even concave areas by using different parts of the wheel, and even digging into the corner of the wheel if needed for smaller, detail areas
Step 13: Finish With Carnuba Wax
Swap wheels one last time to the all flannel wheel and load it with just a little bit of carnuba wax.
The more wax you load on the worse the final buffing will be since too much wax will build up upon the surface and ruin your finish! Just touch the carnuba wax bar to the wheel and load it up for a second or two. You can always reapply more later.
Step 14: How to Polish Small, Highly Detailed Parts Hands Free (hopefully)
I am currently working on a completely automated, “hands off” version of this process using lapidary equipment – a vibratory polisher and different abrasive mediums.
I hope to be able to achieve the same results over several hours or days of parts vibrating in different grit medias that could run unattended, except for the changing of the media as the part moves up the grits.
I’m also going to test spraying a clear high gloss resin, as well as flame polishing any surface too detailed, or too small to sand in order to achieve a glossy finish.


